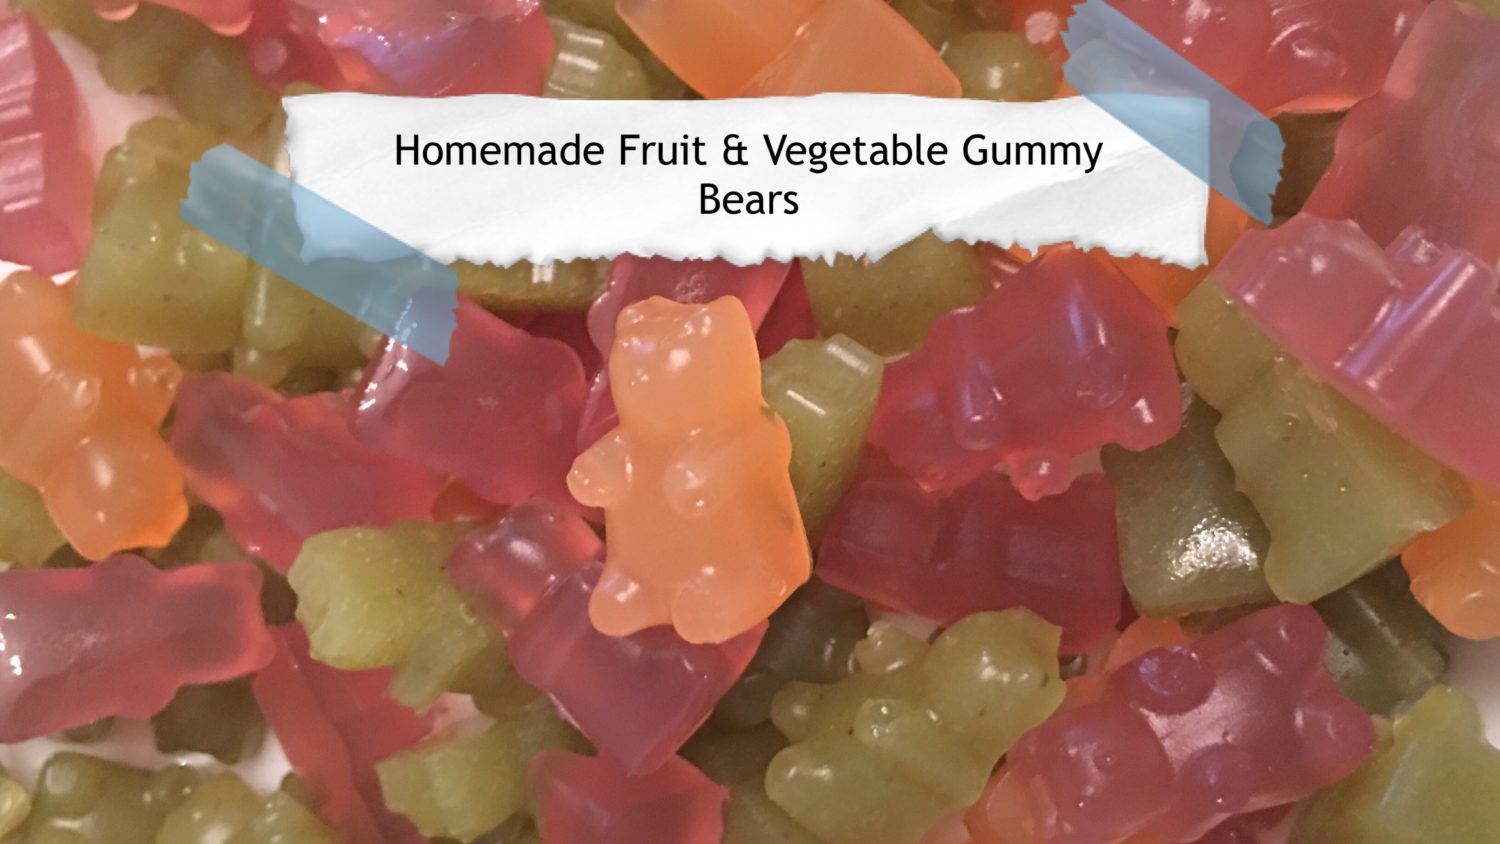
Homemade Fruit and Vegetable Gummy Bears
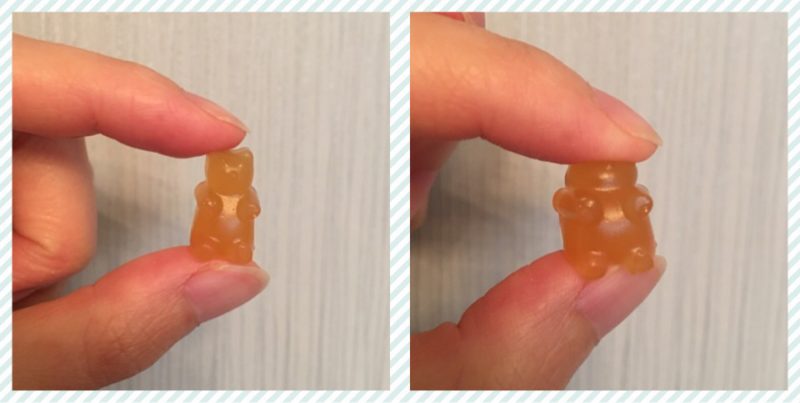
I love sweets! I just can’t get enough of them, they are the perfect pick me up snacks! You can literally have them anywhere! At home, at work, on public transport, in the garden, park, museum, cinema, bathroom? Wherever takes your fancy! They are conveniently sold everywhere too! So when it comes to #JasperBean, how can I say no to him? He’s only 2 and he’s definitely taken after my sweet tooth, however I would like to minimise the amount of sugar he consumes. I do make him lots of dried fruits and fruit leathers in my dehydrator, but when he asks for a gummy bear, what do I do? I make him my homemade fruit and vegetable gummy bears!

These squishy little delights are quick and tasty, provides extra nutrition and are a hell of a lot healthier than shop bought ones. I have shared them with family and friends and they have gone down a storm. I use a mixture of fruits and vegetable for my gummies which means they are filled with vitamins and minerals. Additionally, they contain gelatine which is a great source of collagen and protein. Health benefits include:
- healthy skin, hair and nail growth.
- improves digestion
- good for joints
The best thing is they are homemade, so you can literally add any type of vegetable/fruit juice you like or if you prefer, try my gummy bears for adults! You can combine different types of flavours to see which ones you like best! Let’s begin and experiment!
Ingredients
Gummy Recipe 1 (Juice):
- 1 cup juice/milk
- 3 tablespoons plain gelatine
Gummy Recipe 2 (Puree):
- 1/2 cup puree
- 1/2 cup liquid (water, coconut water, milk)
- 3 tablespoons gelatine
Optional Ingredients:
- • 2-4 tablespoons of raw honey or 1 tablespoon of stevia. This is a preference depending on how sweet you want the end product to be and also what fruit/vegetable/milk combo you have gone for. The gummies will taste less sweet than its liquid form, due to the fact that they are refridgerated and consumed at a cooler temperature, therefore a considerable amount of sugar is needed to give you that sweet after taste! Hence, it is entirely up to you how much sugar you put into this.
- • For an extra boost, add up to 1 tablespoon of Vitamin C Powder, probiotics, elderberry syrup, magnesium powder etc.
Instructions
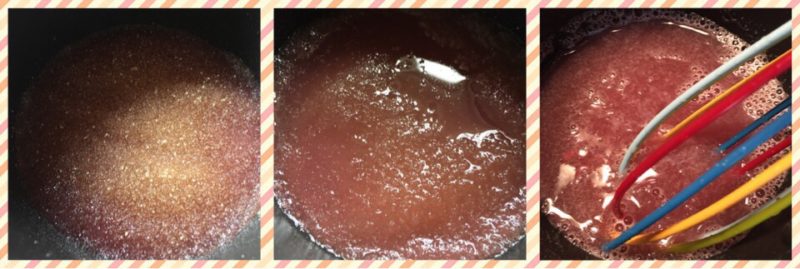
- Pour the juice/milk/water into a small saucepan and then sprinkle the gelatine on top and leave for a few minutes, once the gelatine is completely absorbed, whisk to combine. If you are using puree, keep this separate for now.
- Place the saucepan over low-medium heat and let it warm through (do not boil). Continue to stir the mixture every now and then until the gelatine is completely dissolved and then remove from heat. You will know it is ready when your liquid looks smooth and the texture is slightly syrupy.
- If you would like to add honey, vitamin powders or probiotic, wait until the liquid is slightly cool (couple minutes). This is because they are heat-sensitive and you would want to avoid killing any good bacteria in them.
- If using puree, add this now, whisk and mix well.
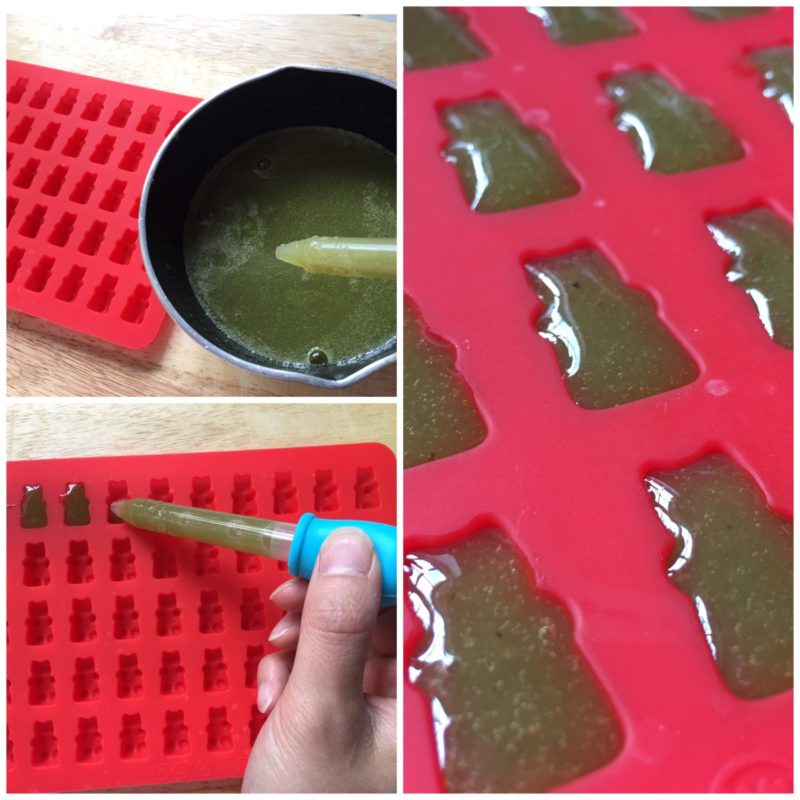
- Pour into moulds or a silicon pan and refrigerate (how long depends on how deep your moulds are, which can be from 30 minutes upwards).
- Check the gummies have completely solidified and remove from their moulds. If you use a pan, you can cut up the gummy into smaller pieces.
- Enjoy your healthy gummies! If you have any leftovers, transfer them to an airtight container and store in the refrigerator. They will keep for 2-3 weeks.
Tips:
- Do not use pineapple juice, your gummies will not set due to the bromelain enzyme found in them. Acidic fruit seems more problematic when making jellies/gummies as well.
- Do not heat up the mixture until the gelatine is absorbed and whisked with the juice, as this may cook your gelatine too quickly and you’ll end up with lumps. If you do, then you’ll have to wait for your mixture to cool down a bit for the lumps to separate and float to the top (about 10 minutes). Once this happens, you can scrape this from the top.
- You do not need to make your own juice, shop brought juice will work just as well. However, these are likely to be sweetened already, so take precaution when adding more honey/sweetener.
- If you would like to lighten the colour of the gummies, you can substitute for some milk, such as coconut milk.
- You can use just milk as your liquid (almond milk, oat milk, soy milk, coconut milk…).
- You can use gelatine leaves, but powder is easier to measure accurately.
- For vegetarians, you can use Vege-Gel from Dr.Oetker or agar-agar powder.
- I do not have a juicer and used a Nutribullet instead. You can use the blended juice as is, but I find this too thick, so I poured my blended juice into a muslin bag and squeezed out the juice.
- Try my alcoholic recipe!
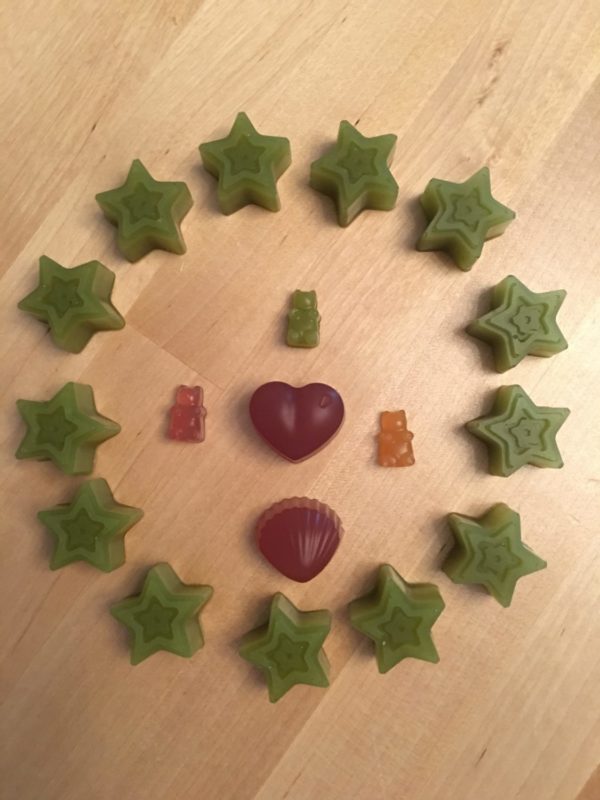
The flavour of my gummies:
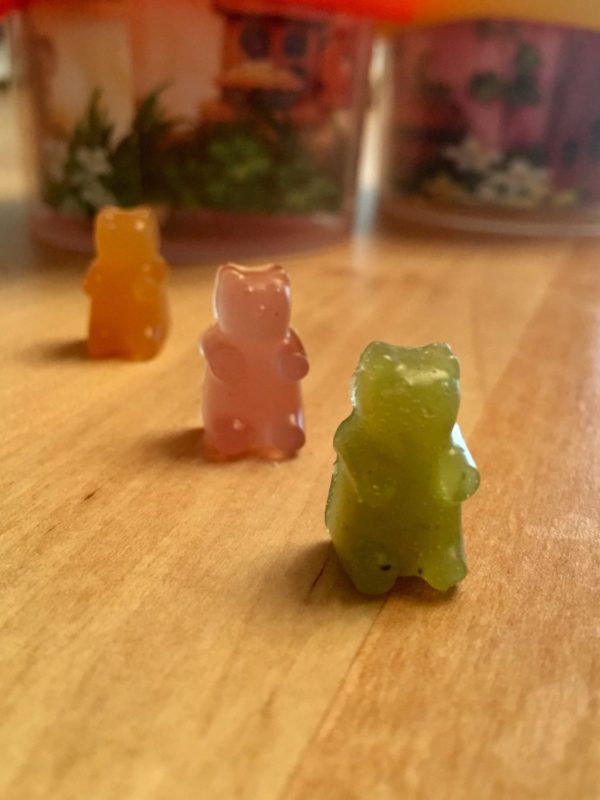
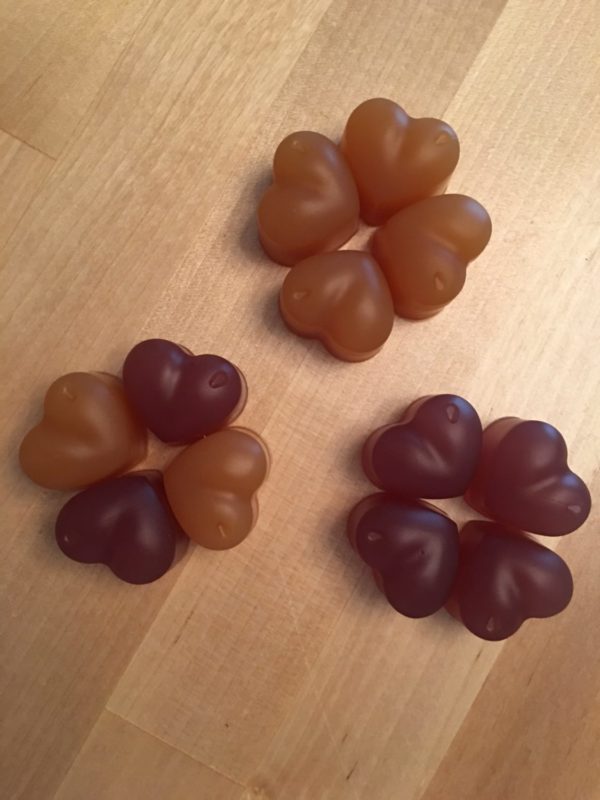
Orange: Nectarine, carrot, apple, lime juice
Green: Apple, pear, courgette, spinach, kale, orange
Red: Apple, raspberry juice
The amount of each fruit/vegetable can vary depending on your own taste.
What flavour would you try? How adventurous would you get? Not into fruit or vegetables? Try my alcoholic gummy bears! Let me know what you throw into the mix!
Until next time…
Love, MsMamaBean
This post may contain affiliate links. Please refer to my Disclosure on the sidebar.
This post is linked up to the following linkys:




Comments
These are so ridiculously cute! I LOVE gummy candies, but I had to stop eating them because they hurt my teeth so much. I feel like I need to try this recipe as it’s much healthier! So creative.
xo Jaime
Angloyankophile
Thanks Angloyankophile! Definitely give this recipe a try and let me know if you liked them!
These look amazing and so much more fun {and healthier} to make yourself at home, too.
They were fun to make and so simple! Would be nice for older children to try as well!
Oh, wow! I am the biggest gummy and fruit snack eater, lol! I am totally trying this! Looks great!
oh i love this and def love the idea of knowing what goes into the kids sweets!
This is brilliant! I need to try this for me, not just my boy. I love chewy sweets! Thanks for sharing! #ThatFridayLinky
Healthy and yummy looking gummies for everyone in the family! Great tips!
Healthy and yummy looking gummies for the family! Great tips and I’ll try it!
Pammy – joyfulsource.com
Wowww that’s so cool! Haven’t seen before a post regarding how to make candy 😛 that’s so great, thank you for sharing! x
Such a fab thing to make especially as a healthy option than shop brought ones. Love the sound of your flavour combinations
I LOVE gummies! These look so tasty… I’ve always wanted to try making my own as well.
Give it a try and let me know! I’ll be posting another gunmy recipe next week, so come back and check it out! X
Omg how fun!! I’ve never seen anything like this before! I’ll have to try this one day! #thatfridaylinky
Give it a go! It’s gluten free, suitable for all ages and so easy to make!
Oh what a creative idea. Way to sneak in those vitamins
yes! This is something I will definitely be making. What a great way to fool my children into eating fruit and veg!
Wow! I had no idea it was so easy to make your own gummy bears! These sound tasty and definitely healthier, and I think would really impress your friends too! #familyfunlinky
Oh my what a fabulous idea, I didn’t realise it could be done quite so easily, I will certainly pin this for a later date as I’d love to make something like this for my children. I love being able to give them healthy ‘treats’. Excellent tips as well, really thorough. Thank you for sharing at #familyfun
These look amazing. I will definetly be trying them #familyfun
This is such a clever idea – and they look delightful! #familyfunlinky