
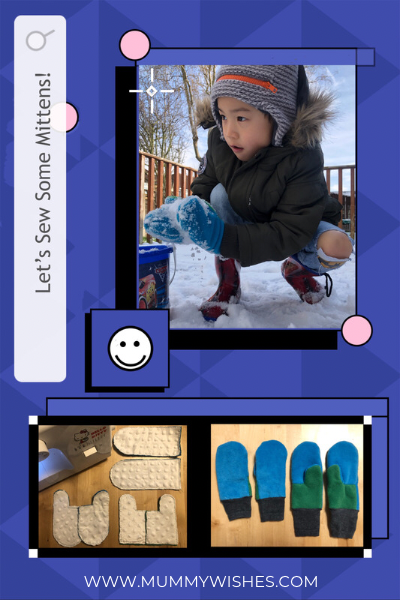
Let’s Sew Some Mittens
Have you ever noticed that when it gets cold or when you need things the most is when you can never find them? We always have odd socks and gloves/mittens that we can never pair up. Come February when it has been the coldest its been in the last year, I am never able to find gloves that fit my boys. So the best solution was to make them myself. Especially since we are still stuck in the midst of this horrible pandemic, there is plenty of time to DIY. I used fabric that had been left over from previous projects, such as our DIY Reversible Dinosaur Cape, so it didn’t cost me a pretty penny. This is a step by step guide to making your own mittens for you and your family.
Materials for your mittens
- Fleece
- Lining – I used Minky fabric
- Old/unwanted socks
- Sewing machine or needle and thread
- Scissors
Fleece is a great fabric to use because it’s warm and stretchy. The best quality of fleece is that it allows moisture to evaporate while blocking the humidity from the outside. Minky is another type of fleece that is super soft and warm. It is waterproof yet breathable. Other good options for linings are flannels, sherpa, brushed cotton and thermal. However, flannels do not stretch, so it may not feel as nice against the skin.
Step 1
Measure materials using hands that you are going to make mittens for. The mittens I made consisted of 3 different pieces for each mitten. I find that this technique gives them a better fit, however, you can make them by just tracing an outline of your hands as well. Remember to allow about a 1cm allowance for the seams.
If you would like to use my design, there is a back piece, a front top and a front bottom. All this can be made by measuring the width and length of the hand + allowance and an extra piece for the thumb. So it would be best to draw it on paper first. Make sure there are pieces for the right and left hand (mirror image).

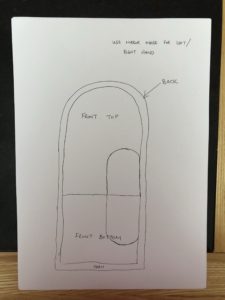
Cut 2 mains and 2 linings, these would need to be in mirror image so that you have pieces for your right and left hand.

Step 2
Place your main piece (“wrong” side) facing up and layer the lining on top with its “right” side facing up. Repeat with all pieces and sew all around each piece.

Step 3
Take the Front Top and Front Bottom piece and sew across the palm and around the thumb. Next, place the sewn front piece (“wrong” side facing up) on top of the back piece (“right” side facing up). Align and sew all around leaving the bottom open (this is where you will put your hands inside the mittens).


Step 4
Once this is all sewn together, flip your mittens inside out. This is what they should look like.

Step 5
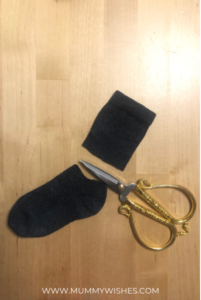
Take a pair of old/unwanted socks and cut the top half off. You will use these as the cuff for your mittens. How long or short you want your cuffs to be is entirely up to you.
Step 6
Take the top piece of the sock and flip it inside out and then place it around the opening of your mittens.

Step 7
Sew the lining, main fabric and cuff together. I used a blanket stitch to make sure the 3 fabrics are lined up before using the sewing machine to secure it.

Step 8
Flip the cuff down and your mittens are done!

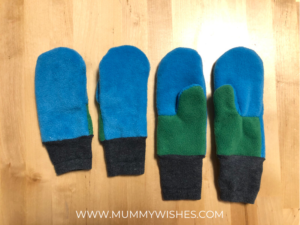
That’s it! You’re done! This is a really straight forward sewing project. The hardest part is probably getting the mitten templates drawn out. If you find this part confusing and would like some help. I am more than happy to assist! Please drop me a message or comment below and get this project started! 🙂

I’m sure these mittens will fit my boys for the next 3-4 winters, that’s if they don’t get lost!
Happy sewing!
Love MsMamaBean


