Simple Last Minute DIY Christmas Stocking
#JasperBean has been so excited about Christmas this year that he’s been asking about it since September. We had finally put up the Christmas decorations on the 1st December when he asked about a Christmas stocking. We only had one in the house, so armed with some left over fabric from our DIY Reversible Dinosaur Cape, I set out to make one for the boys. You can also make one without lifting a needle! It’s quick and easy and you can make it as simple or intricate as you like! Your own handmade stocking is perfect for the holiday season, as a gift or just a decoration for the house. Best of all, it can be ready in minutes!
What you’ll need
- Fabric (I used some left over fleece and furry fabric for the trimming)
- Scissors
- Christmas decorations and ribbons (optional)
- Sewing machine, needle and thread and/or glue gun
DIY Christmas Stocking
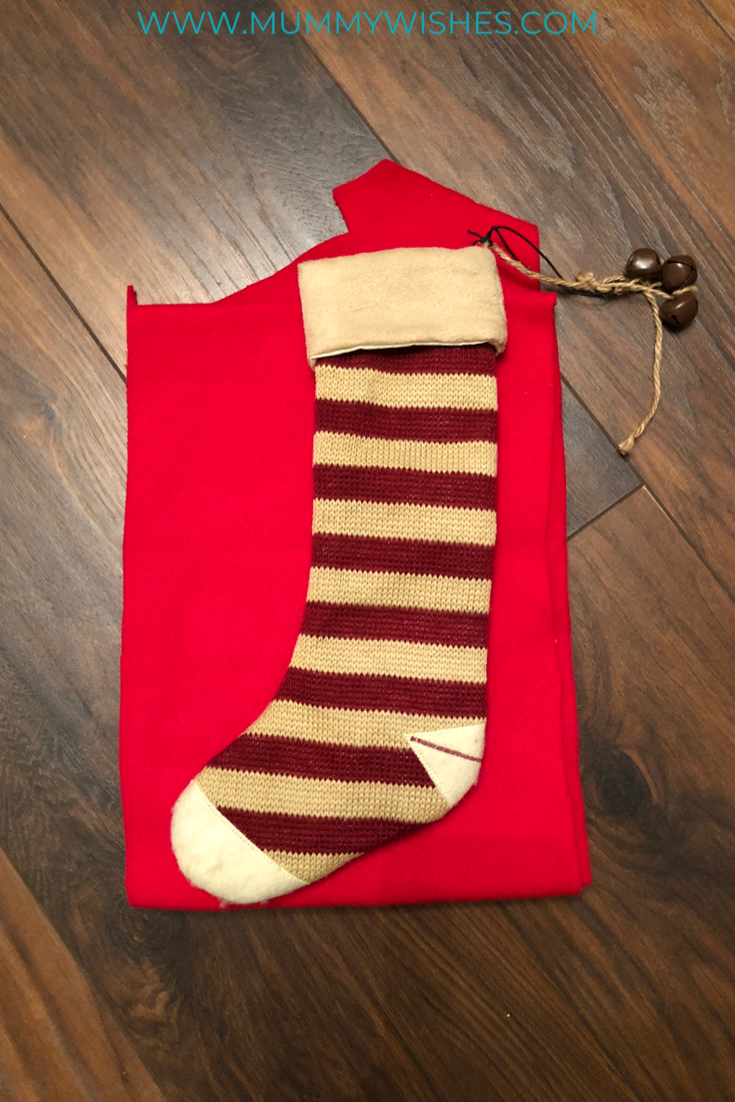
Step 1: Trace the stocking
Line up 2 layers of red fleece to make the stocking. Remember to trace and cut with the right side of the fabric facing each other. I used another Christmas stocking to mark out the shape of the stocking.

Step 2: Sew or glue
If you’re sewing your Christmas stocking, pin the 2 pieces together (right side facing inside) and sew together with a 2cm allowance. If you don’t want to sew, you can glue the 2 pieces together. Remember that the material still needs to have the right side facing inside so that you can flip the stocking inside out to reveal a finished edge.

Next, flip your stocking inside out.
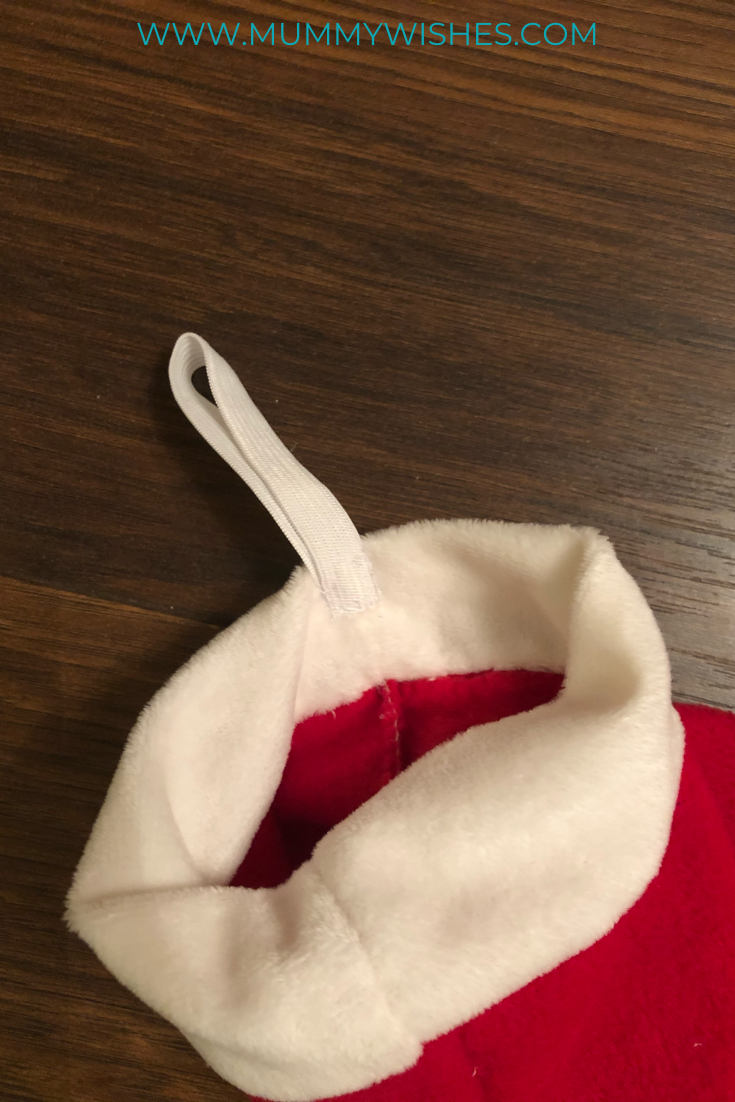
Step 3: Add the trimming
If you’re happy with how your stocking looks, you can skip this step and move onto step 4. Otherwise cut a piece of fabric of your choice to wrap around the top of your stocking. This could be just a different colour of the same material, fur or sequin trims etc. What you choose is entirely up to you and the look you’re going for. Warm up the glue gun and attach the trimming to the top of your stocking, alternatively you can sew this on too.

Step 4: Add a loop to hang your Christmas Stocking
This can either a piece of string, ribbons, elastic band etc. Whatever you choose, it needs to be around 10-20cm, fold this in half and sew/glue it onto the inside edge.
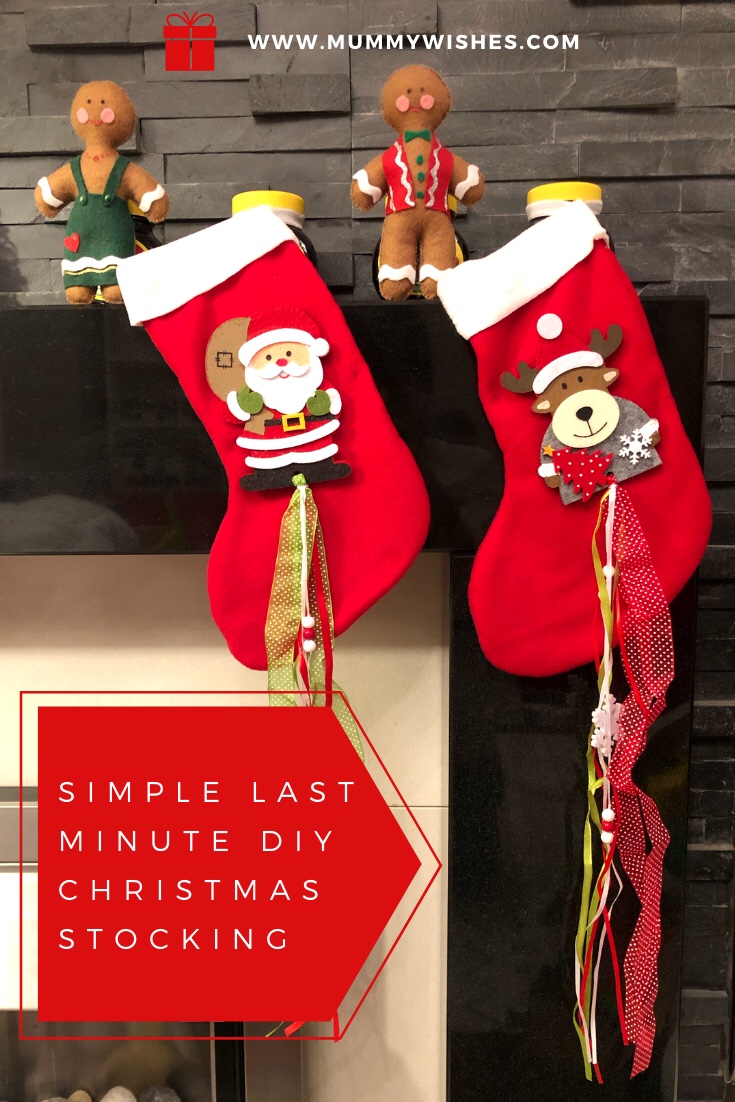
Step 5: Decorate (optional)
Your stocking is essentially complete, but this is where it can get really fun and personal! Decorate the stocking to your hearts content by adding names, Christmas decorations, ribbons and beads to make it look really festive!
I hope you have enjoyed this quick and simple Christmas DIY.
Thank you for reading and until next time…
Love, MsMamaBean x


